Guide on installing laminated wooden flooring
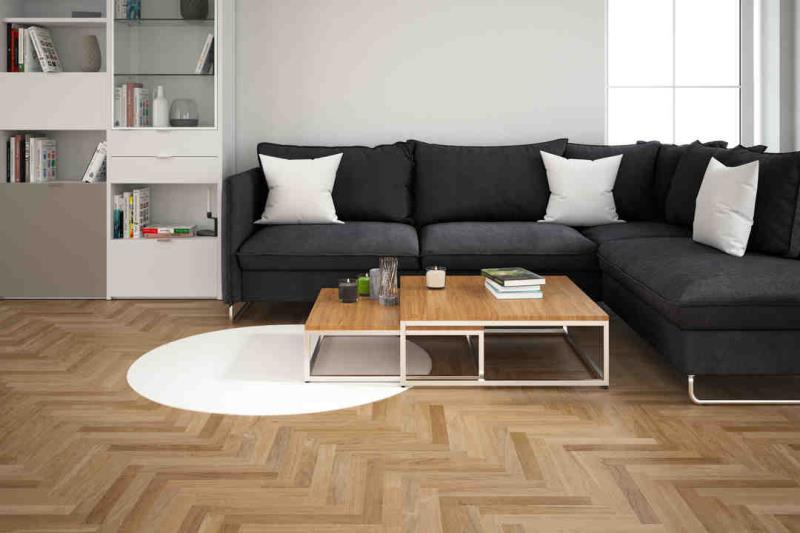
Laminated wooden flooring is relatively a new trend in floor surface covering methods. It is constructed with four layers of different materials fused together by a lamination process, with a photographic image of wood under the clear top layer. Laminated wooden flooring is a popular alternative to real wood flooring in terms of reasonable cost, effortless installation and low maintenance.
Apart from looking like real wood, laminate flooring is quick and easy to install as it requires no glue or nails. In place of that it uses a lock and fold installation method.
Following are the steps to follow while installing laminated wooden floor:
1. Prepare the floor: Humidity and temperature variations can affect the flooring planks. It is advisable to acclimate the flooring boards in the house for 48 hours prior installation. This will reduce shrinkage when they cool or warm up to room temperature.
2. Clean the sub floor: You can mop or sweep the floor to make sure the surface is free of any dirt and debris, where you will be placing the laminate wooden floor.
3. Install a moisture barrier: Following the manufacturer’s directions, lay out the moisture barrier one row at a time from the longest wall. You can fix the plastic together with a moisture resistant adhesive tape and you must cover the entire floor like this.
4. Lay down floor padding: Further, you have to cover the plastic lining with a foam padding to prevent any residue left unnoticed and to provide a cushion to the floor.
5. Install the first row: In order to have the best appearance, start laying the planks parallel to the longest wall. You need to place ½ inch spacers against the wall and push the first plank with groove toward the wall. The spacers allow the wall to have a breathing gap and a firm base to install against.
6. Install the entire flooring: With the help of a wooden block, you need to tap the next row of planks into the first. You need to hammer continuously until the gap between the first and second board is closed.while you are doing the subsequent rows, make sure that the joints at the ends of the planks are not lined up row to row.
7. Put up the last plank: While fixing the last plank, you need to trim it off to fit and draw a line along the plank below the top plank along the edge of the top plank. This is the width of the gap between next to the last plank and the wall. You can rip cut the plank along this line to install.
8. Finish the floor: Besides placing baseboards and thresholds to finish the floor, you need to cover scuffs and holes with special crayons or putty.