How to Install Herringbone Parquet Flooring?
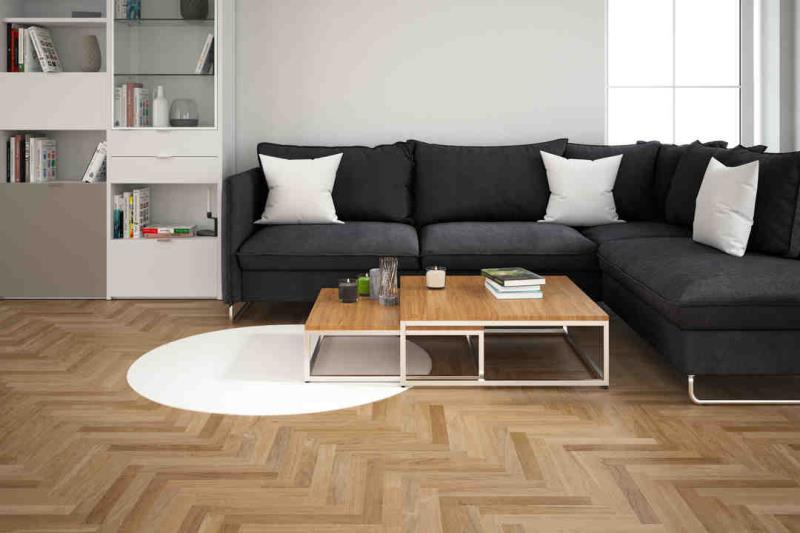
Herringbone Parquet Flooring, just like solid oak flooring and engineered oak flooring, can never go out of style. Its warm style, full character, and charming history make it an undeniable flooring option for homeowners.
In other words, Herringbone Parquet Flooring is stylish, practical, and budget friendly, all rolled into one.
When it comes to installation, there are two options. Either you can have a professional do it for you, or you can do it like a DIY project. While the first option is easier, there is quite a lot you need to do in the latter option. Let’s take a quick look into how this can be made into a DIY project.
Before Installation
- Acclimatise your flooring: It’s important to acclimatise your floorboards 48 hours prior to installation. Leave the boards in the installation room, so that the boards can get used to the environment in the room.
- Separate floors into categories: The floors are categorised as A and B. It’s best to separate them as per their categories.
- Recognise the basics: Each board is built with a four-sided click system so that the boards can click into each other easily during installation.
- Going in a full way: To install flooring, you need to use board A and board B. Slot the shorter side into the longer side, at a medium angle.
What tools do you need?
- Straight Edge
- Laminate Flooring Cutter
- Floating Floor Underlay
- Fixed Heavy Duty Knife
- Floating Floor Spacers
- Square Ruler
- Tape Measure
- PVA Adhesive
- Jigsaw
- Pencil
- Knee Pads
Installation process in detail
- Ensure your subfloor is level and there is no debris on it.
- Take two B boards and three A boards; click your first B board into the header joint of A board to form the basic ‘V’ shape.
- Next, get your second B board and place it towards the left of the V shape, so that it clicks into place.
- Repeat the process for the third A board and B board to form the typical V pattern.
- In the top right corner of the A board, mark a straight line and cut it along with a saw. This should leave you with an inverted triangle.
- Disconnect the boards; glue them back together to make your shape secure.
- From the centre of the floor, work your way towards the out, placing your inverted triangles. Make sure you leave a 10mm at the back and the side walls.
The process is rather simple and can be completed in a few days. This can be a DIY project; however, if you need a professional’s touch, you should reach out to Nexus Flooring. Their team of experts can complete your installation in no time at all.